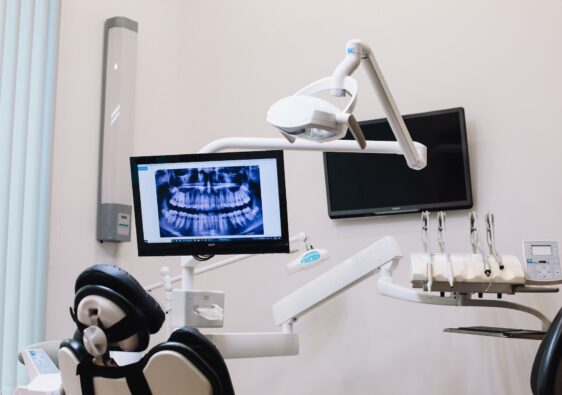
Dental photography is turning out to be more than just a hobby; it’s a big part of your work. Whether you’re documenting cases, sending visuals to labs, explaining treatment to patients or posting before-and-after shots on social media, clear, accurate images matter. It can take your reputation to the next level, so think wisely. But which kind of camera should you use to get those professional-looking dental photos?
If you’re just starting, a phone can be very helpful. Phones have come a long way, and many have excellent cameras. They’re the best option for a beginner. But keep in mind, details matter. You need consistent lighting, true colours and sharp close-ups of small areas. Most phone cameras struggle with close-ups, shadows and maintaining quality across different lighting conditions. Plus, it might be difficult to attach special dental photography equipment like macro lenses. So while phones are great for casual documentation, they’re not ideal for professional dental records or lab communication. For that, you need a proper camera setup.
The two most recommended types of cameras for dental use are:
- DSLR (Digital Single-Lens Reflex)
- Mirrorless cameras
Both types are good, and they can do nearly the same job. The difference mainly comes down to size, weight and how they work inside. Let’s dissect each one.
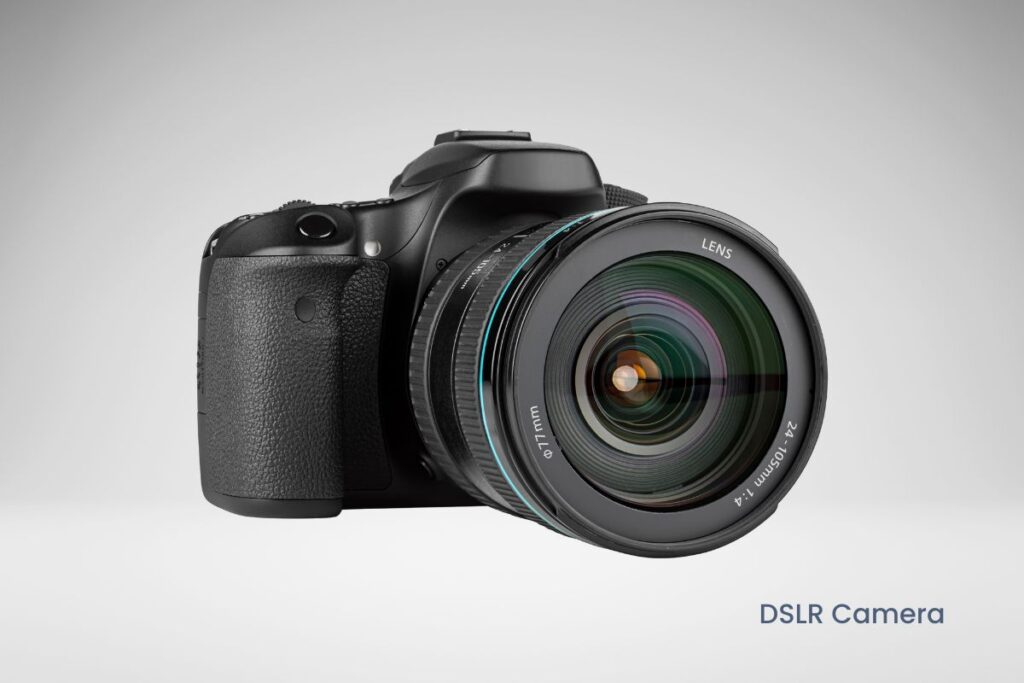
DSLRs
DSLRs are traditional professional cameras. They’re a bit bulkier, but they’re dependable and well-tested for dental photography. Examples are Canon EOS 90D and Nikon D850.
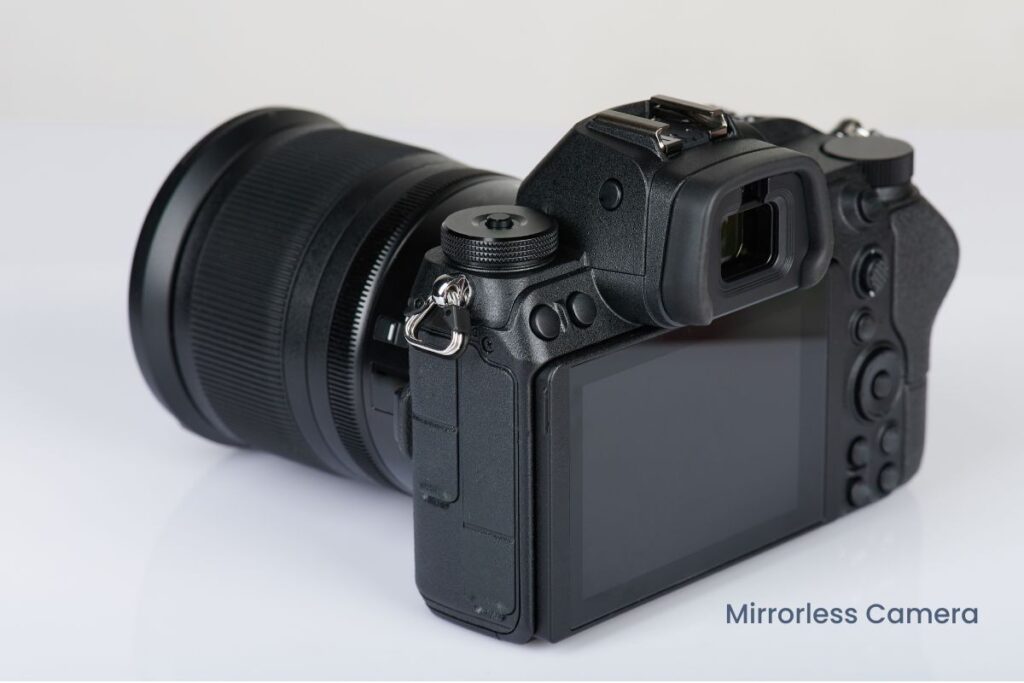
Mirrorless
Mirrorless cameras are more compact and lighter, which can be nice if you’re holding the camera all day. They use newer technology and are becoming more popular in clinics. Examples are the Sony Alpha a6400 and the Canon EOS R50.
Recommended Camera Setup for Dental Photography
No matter which one you choose, you’ll need the right lens and lighting to go with it.
- Lens: Go Macro
For dental photography, macro lenses are essential. A macro lens lets you take super-sharp close-ups. That’s what helps you capture fine details like tooth shade, surface texture or small cracks. Look for a 100mm macro lens for Canon or Nikon DSLRs or a 90mm macro lens for Sony mirrorless cameras. These lenses give you the right distance and clarity for intraoral photography.
- Use Flash: It Makes the Difference
Ever try taking a photo in someone’s mouth without a flash? If you said yes and you aren’t a dentist, that’s weird! But if you are a dentist, you find that it turns out dark, shadowy and uneven. That’s why a proper lighting setup is key.
There’s a Ring flash, which is a circular light that goes around the lens. It gives even lighting and no shadows, making it great for beginners. Then you have the Twin flash, which is two small lights positioned on either side of the lens. These give more control over shadows and depth. Both are much better than regular camera flashes or room lighting.
Do you need more accessories?
Not necessarily, but they make things easier and give you a more professional look. Such accessories are:
- Cheek retractors, to get a clear view of the teeth
- Intraoral mirrors, to photograph the upper or lower arches
- Contrastors, which are black backgrounds that make the teeth stand out
Even with all these tools, you don’t need to break the bank. Think of it as an investment. One solid setup can last you years and improve patient trust, communication and even marketing efforts.
You don’t have to go big and bold to get a good photo. If you want to experiment with cameras without paying a lot, try using compact camera kits made specifically for dental use. Brands like PhotoMed or Dine offer bundles that include the camera, lens, flash and all accessories, ready to go. These kits are a good option if you want a no-hassle setup.
Practice is just as important as the camera. No matter how fancy your camera is, it takes time to get good at using it. Here are a few quick tips:
- Always use the same settings to keep photos consistent
- Take photos before, during, and after treatments.
- Clean your lenses and mirrors often.
- Use cheek retractors to keep lips and cheeks out of the way.
- Take lots of practice shots.
Choosing the best camera for dental photography doesn’t have to be complicated. A DSLR or mirrorless camera with a macro lens and ring or twin flash is the gold standard. Add in a few accessories, and you’re ready to take clean, detailed images that improve both patient care and clinic presentation.
Final Thoughts: Which Camera Is Best?
And if you’re still unsure? Start with a budget-friendly DSLR, like a Canon Rebel or Nikon D series, add a macro lens and ring flash, and grow from there. You’ll soon wonder how you ever practised without it.
Connect with Us
Ready to embark on this exciting journey? Contact us today:
📍 Dubai, United Arab Emirates – Tel: +971 56 123 6043
📍 Khartoum, Sudan – Tel: +249 91 273 1048
Explore Balsam Medico and discover a world of efficient clinic management at www.balsammedico.com. Together, let’s reduce fines, elevate efficiency, and embrace a new era of dental healthcare.
Join the Balsam Medico newsletter for exclusive content and the latest news. Be the first to view valuable information and updates!